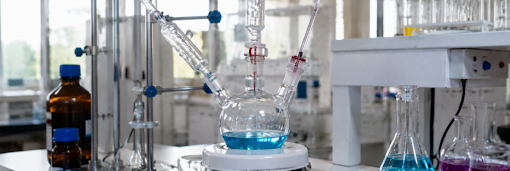
There is a special kind of dread that comes from picking up a test tube, holding it up to the light and spotting a faint, mysterious film clinging to the inside. Was that from last week’s titration, or something older that nobody wants to think too hard about? Dirty glassware is not just unappealing; it is a genuine threat to accurate results, contamination-free samples and general lab safety. The good news is that proper cleaning technique is not complicated, just consistent. Before diving into the method, it helps to have the right tools on hand, starting with a solid range of laboratory labware and a set of purpose-built labware brushes sized to fit everything from narrow test tubes to wide-mouthed flasks.
Why Does Proper Glassware Cleaning Actually Matter?
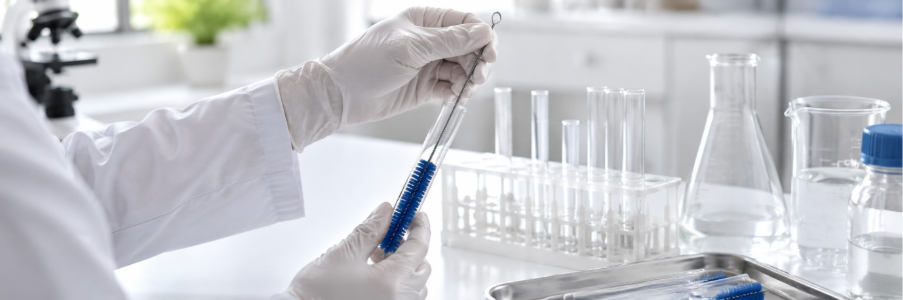
Residue left behind in glassware can quietly sabotage an experiment long before anyone notices. Trace detergent can interfere with chemical reactions. Leftover organic material can throw off biological cultures. Mineral deposits can distort volumetric accuracy. None of this shows up as a dramatic failure most of the time, it just shows up as results that are subtly, frustratingly wrong. Clean glassware is not about appearances; it is about trusting the numbers on the page.
What You Will Need Before You Start Cleaning Laboratory Tools
Having the right laboratory cleaning tools makes cleaning test tubes and laboratory glassware easier, more consistent and less like to cause damage. Before you begin, prepare:
- Laboratory-grade detergent to help remove chemical residues, organic matter and other contaminants without leaving unnecessary residues behind.
- Test tube brush sized to fit the diameter sizes for cleaning beakers, flasks, bottles and other laboratory glassware with varying shapes and openings.
- Distilled or deionised water for the final rinse to minimise mineral and ionic residues that may affect sensitive laboratory applications.
- Drying rack or suitable drying oven, depending on the type of glassware being cleaned.
- Appropriate gloves and eye protection to help protect against detergent, chemical residues and accidental splashes.
When selecting cleaning brushes, choosing the correct size and shape is important for effective cleaning without scratching the glass. If you are looking to buy test tube brushes online, consider a range that includes different brush diameters and lengths to suit the laboratory glassware used in your facility.
Step-by-Step: How to Clean Test Tubes and Glassware
Step 1: Rinse Immediately After Use
Residue hardens the longer it sits, so rinsing glassware straight after use, or at minimum leaving it to soak in water, makes every step afterwards significantly easier. This single habit prevents most of the truly stubborn cleaning jobs before they start.
Step 2: Wash With Detergent and the Right Brush
Fill the glassware with warm water and a laboratory-grade detergent, then scrub thoroughly using a brush sized to fit the shape of the vessel. Test tubes need a slim brush that reaches the base without scratching the sides, while wider glassware benefits from a brush with a larger head. Scratched glass is more than a cosmetic issue, since it creates weak points that increase the risk of breakage under heat or vacuum.
Step 3: Rinse Thoroughly with Tap Water
Rinse several times with running tap water to clear away detergent and loosened residue. Fill, shake and empty the glassware repeatedly rather than giving it a single quick splash, since a rushed rinse is one of the most common reasons contamination sneaks through.
Step 4: Finish With a Distilled or Deionised Water Rinse
A final rinse with distilled or deionised water removes trace minerals and ions left behind by tap water, which matters enormously for sensitive chemical or analytical work. Clean glassware should show water draining off evenly in a thin film rather than beading into stubborn droplets, which is usually a sign more cleaning is needed.
Step 5: Deal With Stubborn Residue
For grease, organic residue or mineral deposits that will not budge, a soak in a mild acid solution or a solvent such as ethanol or acetone can help, followed by another full rinse cycle. Always check chemical compatibility before reaching for anything stronger and only escalate to harsher cleaning agents when gentler methods genuinely fail.
Step 6: Dry Properly
Air-dry glassware upside down on a rack or use a drying oven if the glassware type allows it. Volumetric glassware should never go in a hot oven, since heat can subtly distort its calibrated accuracy over time.
Common Mistakes to Avoid
- Letting residue sit for days before cleaning, turning a quick job into a stubborn one
- Using household cleaning products that leave behind residues or fragrances
- Skipping the final distilled water rinse and settling for tap water alone
- Scrubbing with a brush that is worn or too large for the glassware, risking scratches
Clean Glassware, Clear Results
Cleaning test tubes and laboratory glassware might not be the most exciting part of the job, but it is one of the quiet foundations that everything else depends on. A consistent routine, the right tools and a habit of rinsing sooner rather than later will keep your glassware in good condition and your results genuinely trustworthy.

References
Lab Manager, n.d. How to Clean Laboratory Glassware: A Comprehensive Guide. Available at: https://www.labmanager.com/how-to-clean-laboratory-glassware-20325 (Accessed: 19 August 2026).
The Lab Depot, n.d. Methods for Cleaning Laboratory Glassware. Available at: https://www.labdepotinc.com/articles/methods-for-cleaning-laboratory-glassware.html (Accessed: 19 August 2026).