
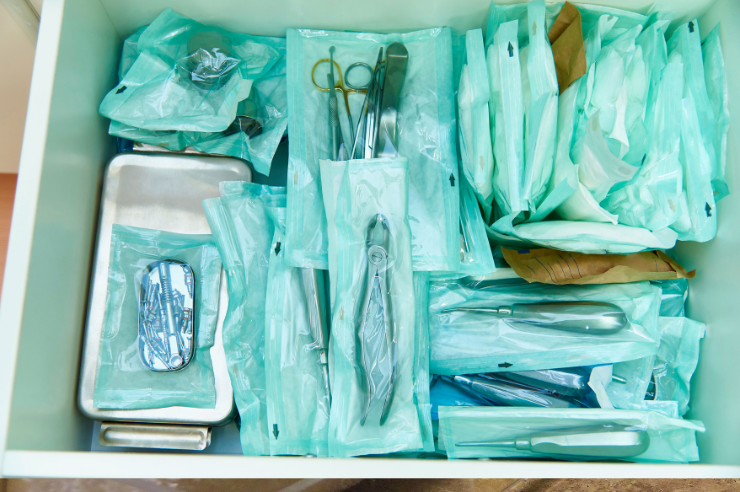
Keeping instruments sterile involves more than running them through an autoclave. Once the sterilisation cycle is complete, the instruments need to remain protected until they are ready to be used. This is where sterilisation pouches play an important role.
They help create a barrier against contamination while allowing instruments to be stored safely after processing. Whether you work in a dental clinic, medical practice, beauty salon, or veterinary setting, knowing how to use sterilisation pouches correctly can help support safe and effective infection control practices.
In this guide, you’ll learn the key steps, common mistakes to avoid, and practical tips for achieving the best results.
What Are Sterilisation Pouches?
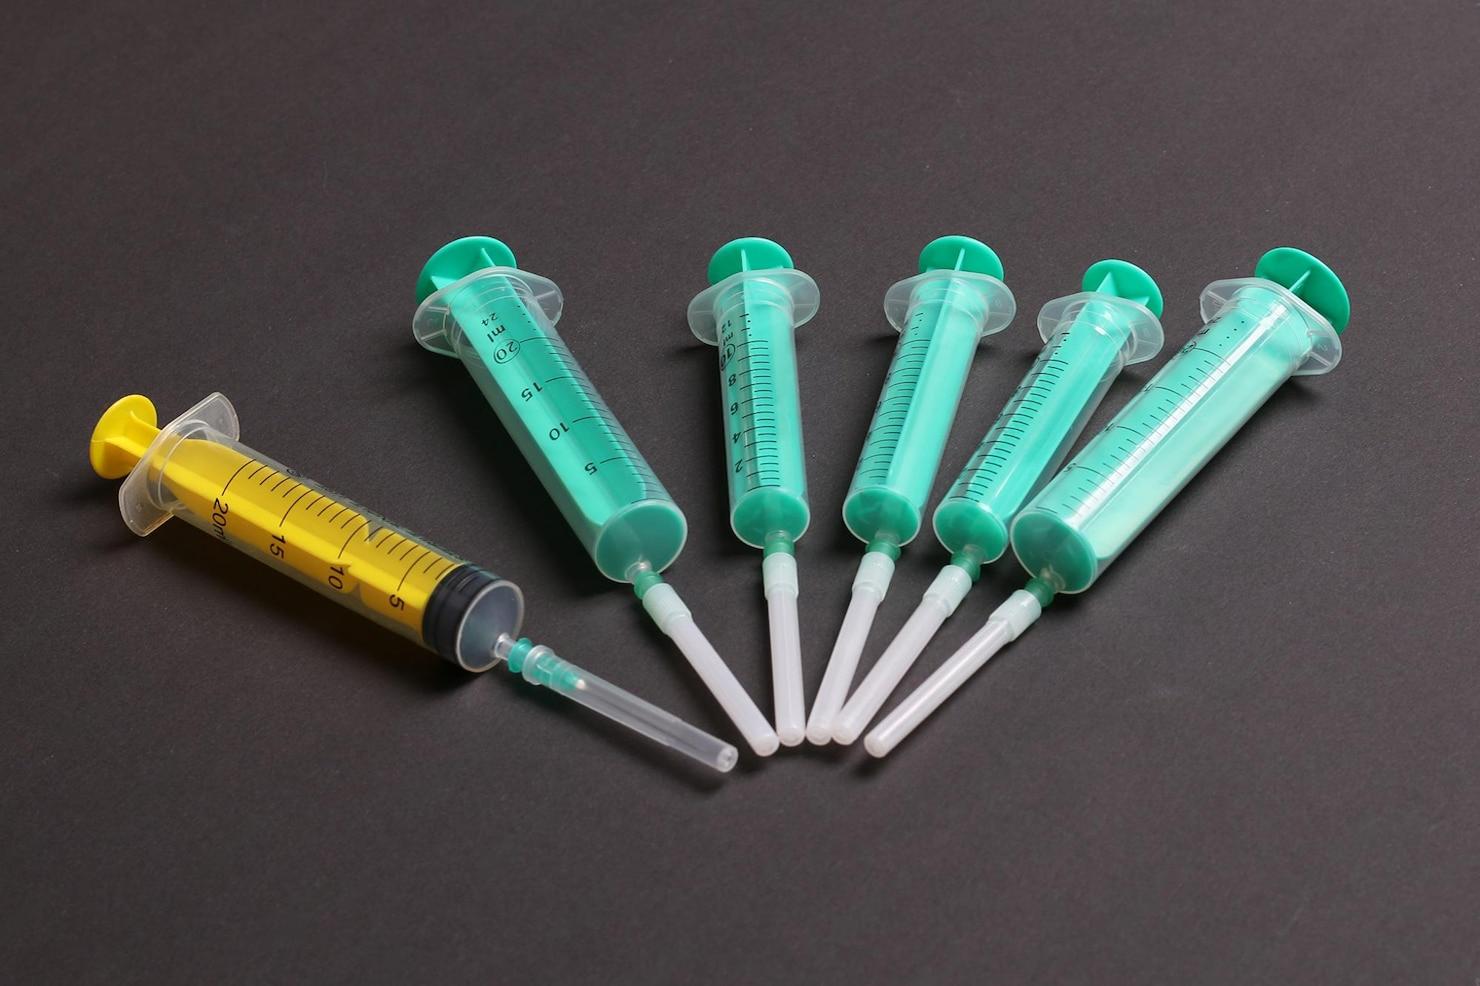
Sterilisation pouches are specially designed packaging products used to hold instruments during the sterilisation process. They allow steam to reach the instruments while creating a protective barrier after sterilisation has been completed.
Most steam sterilisation pouches are made from medical-grade paper and transparent film. This combination helps maintain sterility while allowing you to identify the contents without opening the package.
Many modern pouches also include built-in indicators that change colour once the required sterilisation conditions have been reached.
Why Is It Important to Use Sterilisation Pouches Correctly?
Even properly sterilised instruments can become contaminated if they are packaged incorrectly. Poor sealing, overfilled pouches, or damaged packaging can affect the sterility of the contents.
According to the Australian Commission on Safety and Quality in Health Care, preventing healthcare-associated infections remains a key focus across healthcare environments, making proper sterilisation and storage procedures essential.
When you use sterilisation pouches correctly, you can:
- Help maintain instrument sterility
- Reduce the risk of cross-contamination
- Support infection control protocols
- Improve workplace compliance
- Protect patients, clients, and staff
Step 1: Select the Right Pouch Size
Choosing the correct pouch size is the first step towards successful sterilisation.
Your instruments should fit comfortably inside the pouch without stretching the material or placing pressure on the seals. At the same time, the pouch should not be excessively large.
For example:
- Small sterilisation pouches are suitable for single instruments and compact tools.
- Medium-sized pouches work well for scissors, forceps, and similar instruments.
- Larger pouches may be required for instrument sets.
Leaving adequate space inside the pouch allows steam to circulate properly during the sterilisation cycle.
Step 2: Inspect the Pouch Before Use
Before placing any instruments inside, inspect the pouch carefully.
Check for:
- Tears or punctures
- Damaged seals
- Wrinkles that could affect sealing
- Moisture damage
- Manufacturing defects
Using a damaged pouch can compromise sterility, so it is always worth taking a few seconds to perform a visual inspection.
Step 3: Clean and Dry Instruments Thoroughly
Before packaging, instruments must be cleaned according to your workplace procedures.
Any remaining debris, residue, or moisture can interfere with the sterilisation process.
Make sure your instruments are:
- Properly cleaned
- Fully rinsed
- Completely dry
- Opened where applicable to allow steam penetration
This step helps ensure the sterilisation process is effective from the start.
Step 4: Place Instruments Inside Correctly
Carefully place the instruments into the pouch without forcing them.
Avoid overfilling the pouch. Instruments should sit comfortably inside with enough space around them.
Overloaded pouches may:
- Prevent steam from reaching all surfaces
- Increase the risk of punctures
- Affect seal integrity
- Reduce sterilisation effectiveness
If you need to package multiple instruments, consider using a larger pouch rather than squeezing them into a smaller one.
Step 5: Seal the Pouch Properly
Correct sealing is one of the most important parts of the process.
If you are using a self seal sterilisation pouch, remove the protective strip and fold the adhesive flap firmly into place.
When using self sealing pouches, ensure the adhesive strip is fully secured across the entire width of the pouch.
Avoid:
- Partial seals
- Wrinkled seals
- Loose adhesive edges
- Folding over the seal area
A poor seal can allow contamination to enter after sterilisation.
Step 6: Check the Sterilisation Indicators
Many products, including a self-seal sterilisation pouch with internal and external indicators, contain chemical indicators that change colour during processing.
These indicators help confirm that the pouch has been exposed to sterilisation conditions.
However, it is important to remember that indicator changes do not guarantee sterility on their own. They simply show that the pouch has gone through the sterilisation cycle.
Always follow your workplace protocols for steriliser monitoring and validation.
Step 7: Load the Autoclave Correctly
Once the pouches are sealed, place them into the autoclave according to the manufacturer’s recommendations.
Do not overload the chamber.
Allow adequate space between pouches so steam can circulate freely around each package.
Improper loading can lead to:
- Uneven sterilisation
- Wet packs
- Incomplete steam penetration
- Damaged packaging
Step 8: Allow Pouches to Cool Before Handling
After the cycle is complete, allow the pouches to cool naturally before handling them.
Moving hot pouches too soon can:
- Damage seals
- Create condensation
- Increase contamination risks
Patience at this stage helps preserve the sterility of the contents.
Step 9: Inspect the Pouches After Sterilisation
Before storing the instruments, inspect each pouch carefully.
Look for:
- Tears
- Moisture
- Broken seals
- Discolouration
- Damaged indicators
If a pouch appears compromised in any way, the instruments should be reprocessed before use.
The Australian Guidelines for the Prevention and Control of Infection in Healthcare emphasise the importance of maintaining sterility throughout storage and handling procedures.
Step 10: Store Sterilised Instruments Properly
Correct storage is just as important as correct sterilisation.
Store your sterilised instruments:
- In a clean environment
- Away from moisture
- Away from direct sunlight
- In designated storage areas
- Where packaging is protected from damage
Good storage practices help maintain sterility until the instrument is required.
Common Mistakes to Avoid
Even experienced staff can make mistakes when using sterilisation pouches.
Some of the most common include:
- Using the Wrong Pouch Size
Overfilled pouches may not sterilise effectively and can tear during handling.
- Sealing the Pouch Incorrectly
Poor seals increase the risk of contamination after sterilisation.
- Packaging Wet Instruments
Moisture inside the pouch can affect sterility and compromise storage.
- Overloading the Autoclave
Crowded chambers can prevent proper steam circulation.
- Ignoring Damaged Packaging
Any damaged pouch should be removed from use immediately.
How to Get the Best Results from Sterilisation Pouches
To improve your sterilisation outcomes:
- Choose quality sterilisation pouches Australia healthcare professionals trust.
- Follow the manufacturer’s instructions.
- Use the correct pouch size.
- Check indicators after processing.
- Store instruments appropriately.
- Train staff regularly on infection control procedures.
Following these simple practices can help you achieve more reliable and consistent results.
Conclusion
Using sterilisation pouches correctly is a straightforward process, but every step matters. From selecting the right pouch and sealing it properly to checking indicators and storing instruments safely, each stage helps maintain sterility and support infection control standards.
By following best practices and avoiding common mistakes, you can help protect patients, clients, and staff while extending the reliability of your sterilisation procedures.
Livingstone International offers a range of sterilisation solutions designed to support healthcare, dental, beauty, and veterinary professionals in maintaining high standards of safety and hygiene.
Frequently Asked Questions
1. How do you use self-sealing sterilisation pouches correctly?
To use self-sealing sterilisation pouches, place clean, dry instruments inside, remove the adhesive backing, fold the flap securely, and press firmly across the seal. Ensure there are no gaps, wrinkles, or loose edges before placing the pouch into the steriliser.
2. Can sterilisation pouches be used more than once?
No. Sterilisation pouches are designed for single use only. Reusing a pouch can compromise its integrity and increase the risk of contamination.
3. What is the difference between a self seal sterilisation pouch and a heat-seal pouch?
A self seal sterilisation pouch uses an adhesive strip for closure, while a heat-seal pouch requires specialised sealing equipment. Both can be effective when used correctly, but self-seal options are often preferred for convenience.
4. How can you tell if a sterilisation pouch has been processed properly?
Most pouches include chemical indicators that change colour when exposed to sterilisation conditions. A colour change indicates exposure to the cycle, but additional monitoring procedures should also be followed according to workplace guidelines.
5. Why do sterilisation pouches become wet after autoclaving?
Wet pouches may result from overloading the steriliser, poor drying cycles, incorrect loading techniques, or excessive moisture in the chamber. Wet packs should be considered compromised and reprocessed.
6. How long do instruments remain sterile inside sterilisation pouches?
Sterility depends on storage conditions and the integrity of the packaging. Instruments can remain sterile until the pouch becomes damaged, wet, opened, or otherwise compromised. Regular inspection of stored packages is recommended.
